Drying Herbs

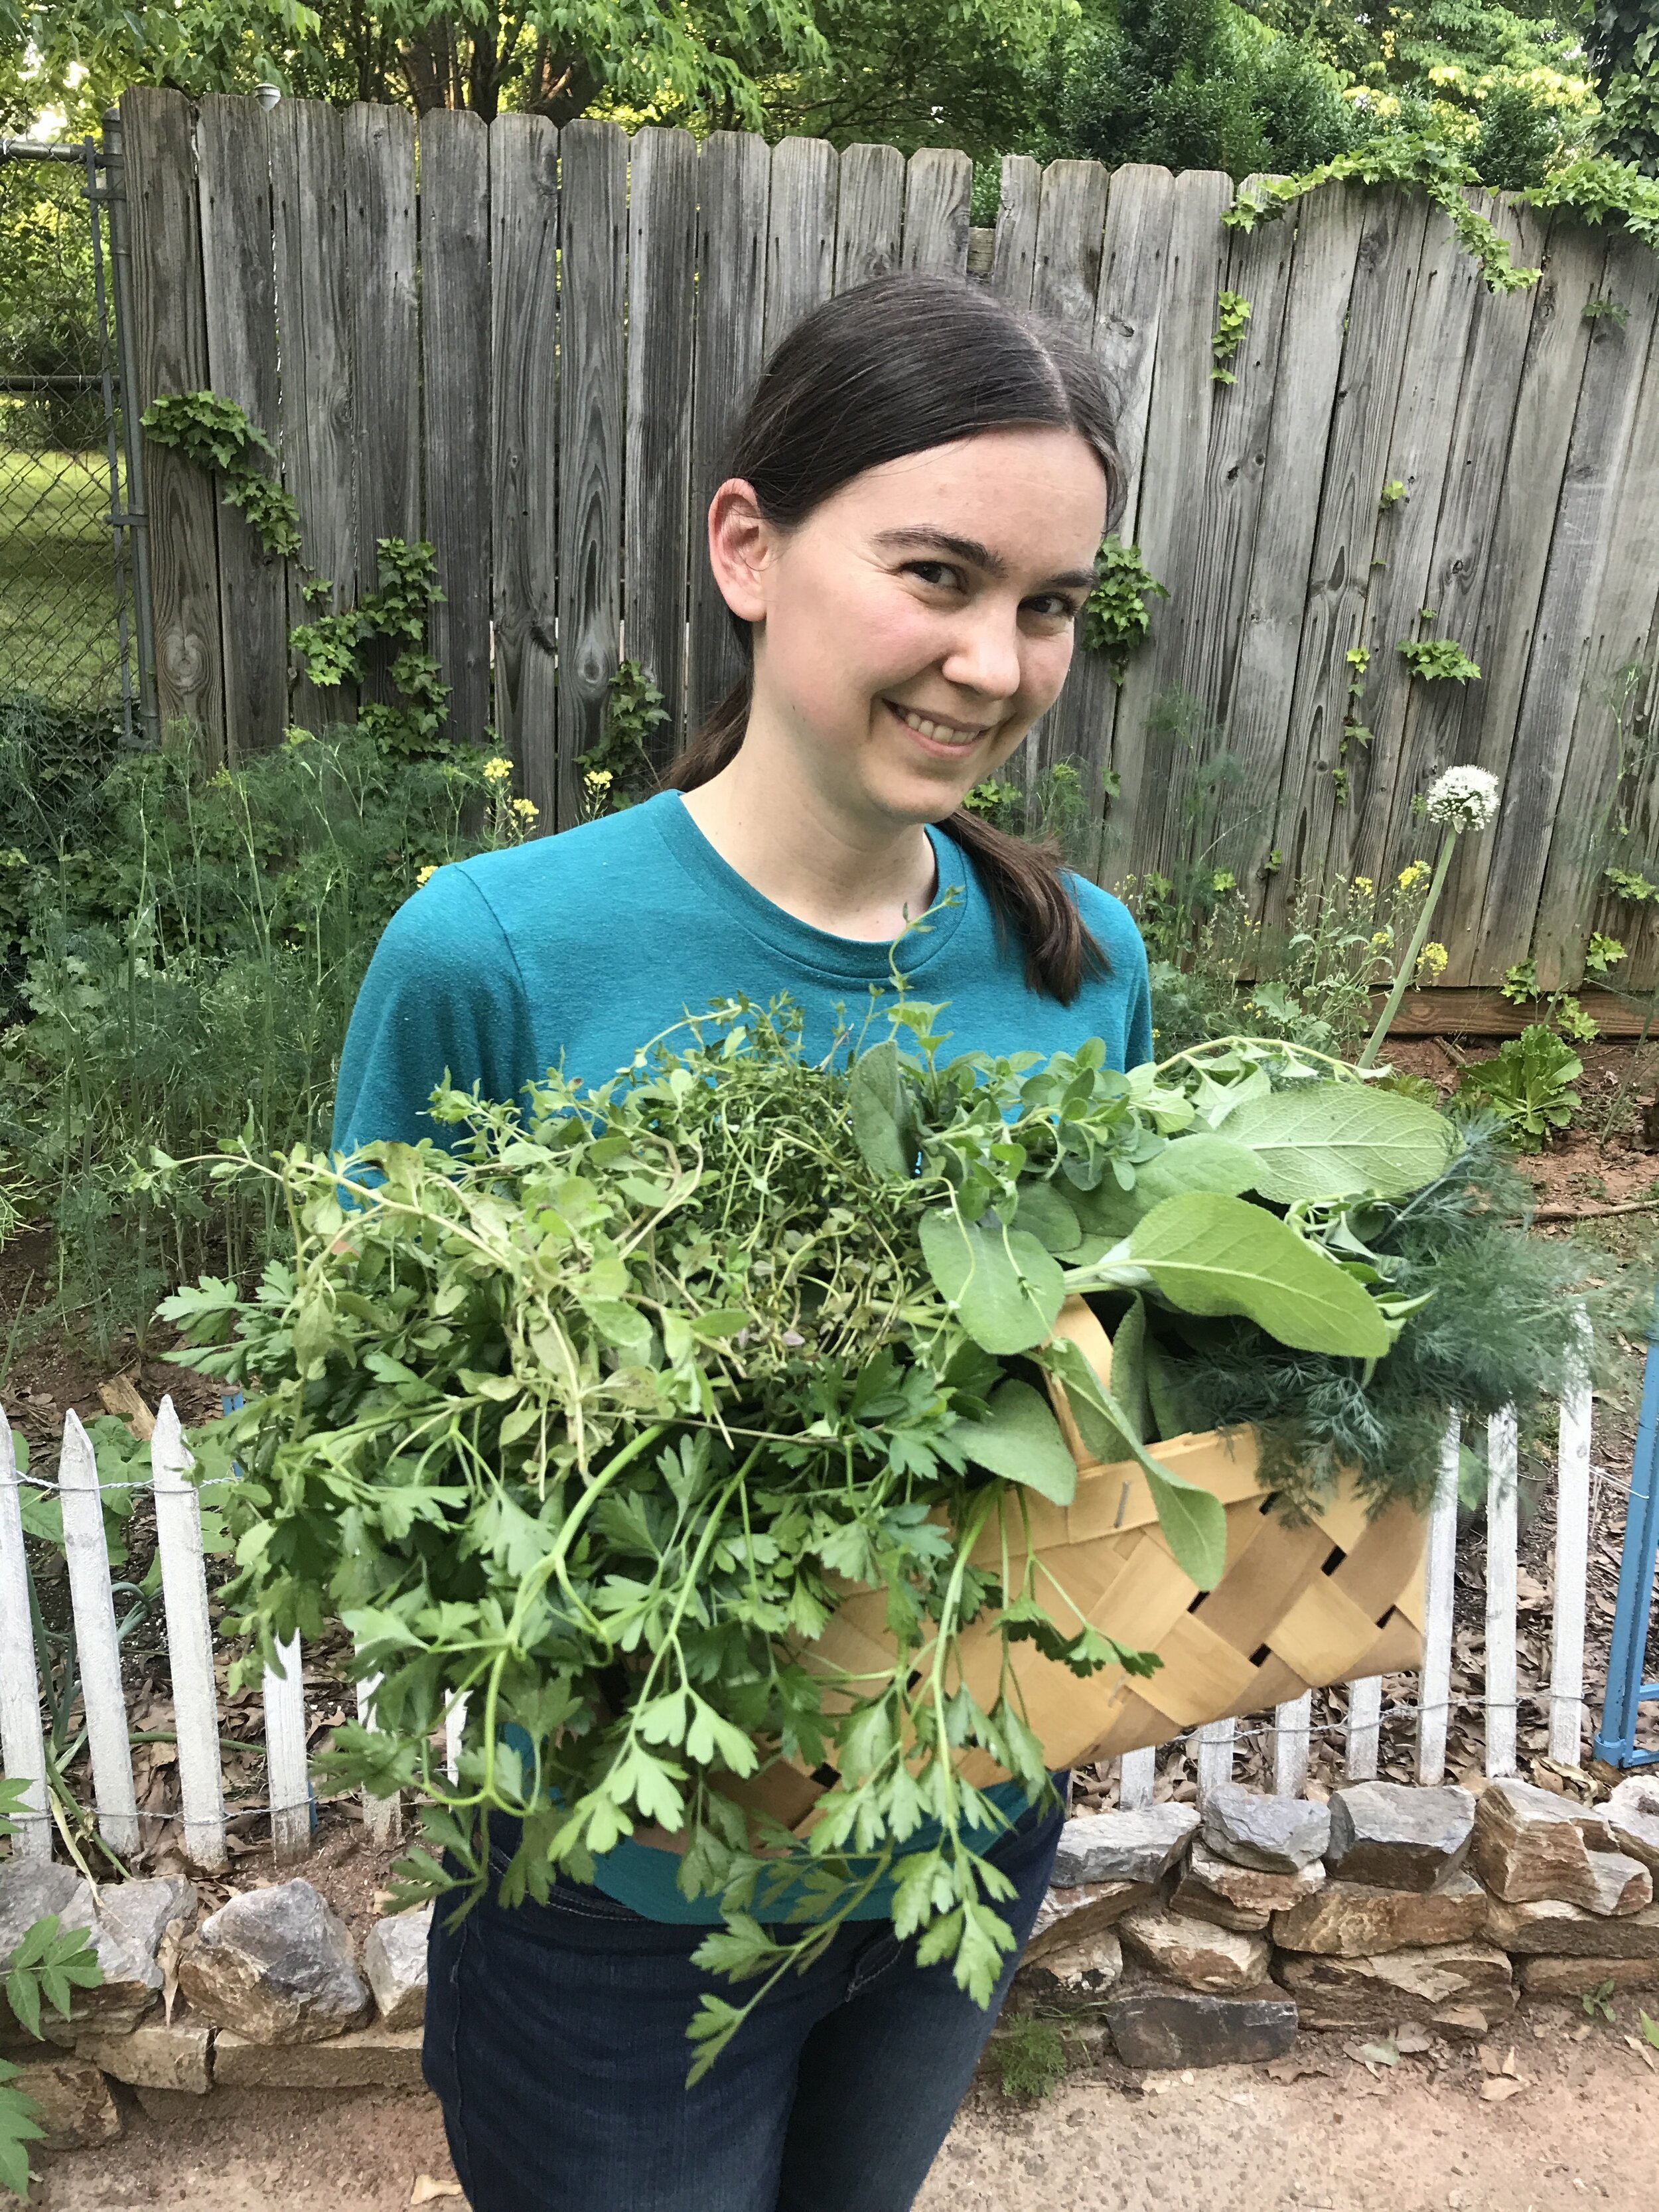
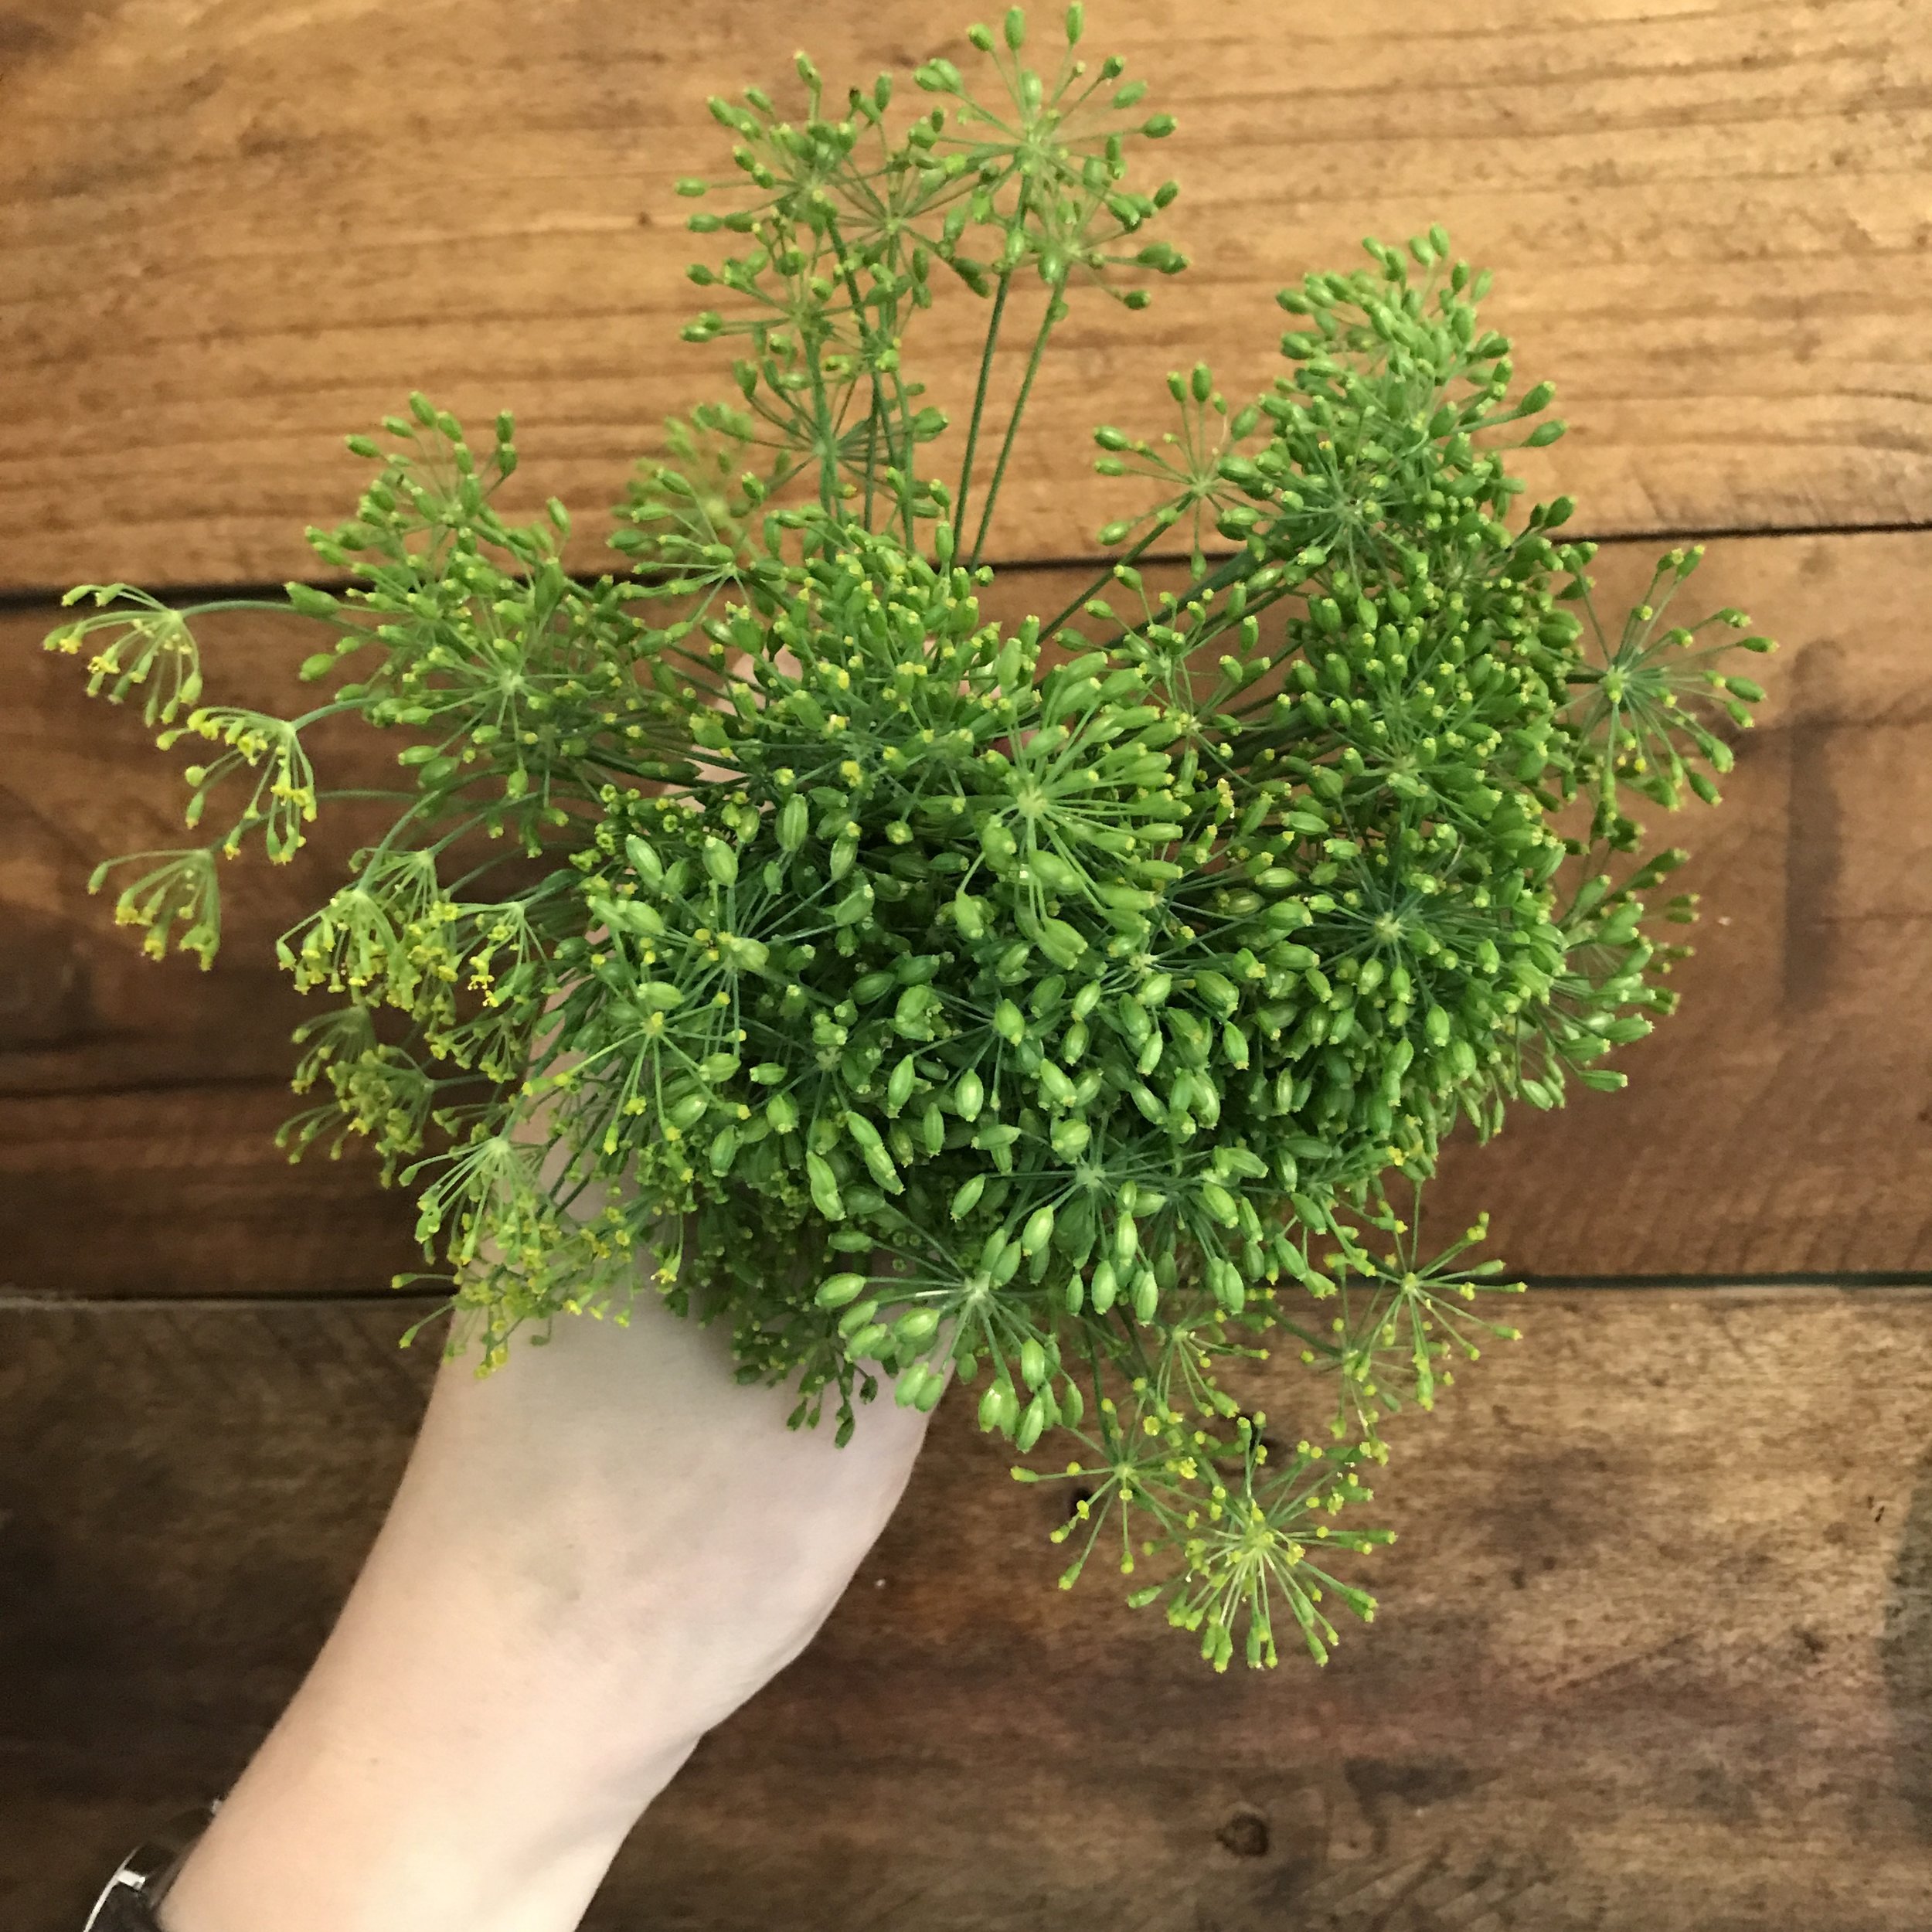
While most of us are used to the convenience of herbs year round, they are just as seasonal as vegetables. So if you find yourself with extra herbs in your CSA bag some weeks consider drying the leftovers to preserve them for future recipes!

Tip: Label everything! Dried leaves can all start to look the same after a while….

Air Drying

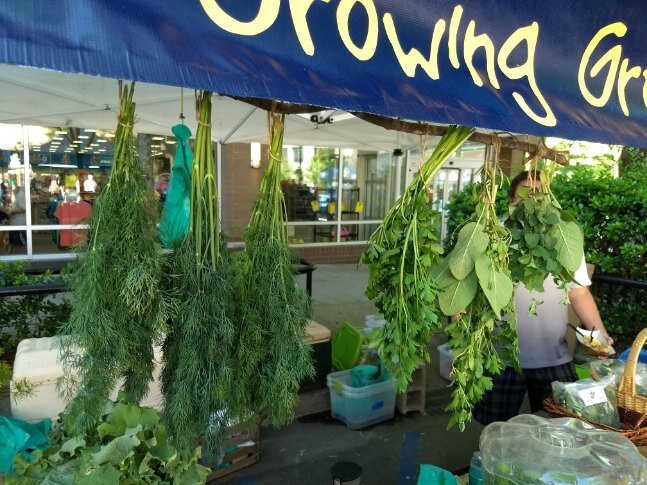
No special equipment required for this method. Simply hang the herbs upside down in a dry spot and let nature dry it for you. We’d recommend using a rubber band to securely tie the bunches as the stems often shrink while drying. You don’t want to find your herbs crumbled on the floor! If your house isn’t too humid, most herbs will be dry in 1-2 weeks. To test, simply crush a leaf in your palm, if it crumbles they’re ready!

Dehydrator

If you’re going to be drying herbs in bulk, you might want to invest in a dehydrator. Simply lay the herb sprigs in a single layer on the trays and allow them to dry on the low setting for 2-4 hours. They will be crumbly when dry. Strip the leaves off the stem over a bowl to catch all the dried herb goodness.

How to Store

Any airtight bottle or container will do the trick. We often save the glass herb, sauce, and jelly jars and bottles from the grocery store to store our home dried herbs in. Don’t forget to label!

Kale Chips

Sometimes you need a break from salad and wilted greens, and these kale chips fit the bill. Perfect or snacking or for your next backyard cookout. They taste so delicious you’ll not want to return to potato chips!

Ingredients

1 bunch of kale

1 TBS olive oil

Glug of vinegar (optional)

Salt to sprinkle

Directions:

  1. Remove the thick stems and tear kale into bite-sized pieces.

  2. Massage the oil (and vinegar) into the leaves. Sprinkle with salt.

  3. Dehydrator: Arrange in single layer on tray, allow to dry for a few hours until crisp.
    Oven Preheat oven to 275, bake until crisp, but not burnt. About 15-20 minutes.

  4. Try not to devour them all in one sitting! ;-)

For some variation, try out different seasonings. I bet garlic salt, seasoning salt, and more would be great additions!

00100dPORTRAIT_00100_BURST20190419095501337_COVER.jpg


Quick Kohlrabi Recipe

Kohlrabi is a new vegetable to our own kitchens, but it was hard to resist such a funky-looking vegetables when we were browsing seed catalogs back in the winter. Plus being great source of vitamin C, potassium, fiber, and antioxidants has its attraction too. And now we get to taste it along with you!

The Internet 100% agreed that the first step is to peel the bulb as the skin is fibrous, so we listened to their advice. Raw it reminds us of a very mild turnip with an almost water chestnut crispness to it. Could definitely see it as a great topping for a salad or grated into a slaw.

But inspired by a Pinterest recipe, we decided to cook it for dinner. Took less than 15 minutes from prep to table and it was delicious! Kohlrabi has a mild broccoli undertone once cooked that paired really well with the seasonings. We’ll definitely be eating more of this!

Ingredients

  • 2 tsp butter

  • 1 clove garlic, minced

  • 1 peeled kohlrabi, cut into 3/4-inch chunks

  • 1/4 tsp coarse salt

  • Black pepper to taste

  • 1-2 tbsp water

  • 1 tsp sage, fresh (dried would probably work too)

  • 1 tbsp chopped nuts or seed of choice (we used pepitas)

Directions
Melt butter in skillet over medium-high heat. Add garlic, kohlrabi, salt and pepper and cook, stirring often until the garlic starts to brown. (3 minutes)

Add water, cover and allow to steam 8 minutes or so until tender yet crisp. Stir occasionally and add a dash more water as necessary.

Remove lid, stir in sage stirring until the sage is fragrant (1 minutes). Serve hot with pistachios sprinkled on top.

Yield: 2 servings as a side 

Mix & Match Frittata

The days are lengthening and temperatures are warming. Egg-citing! The happy hens are laying again, and local markets are overflowing with farm fresh eggs. Frittatas are a fabulous way to use up the extra eggs and a super quick way to get a delicious and nutritious dinner on the table pronto! Our mix-and-match recipe can make use of whatever you have on hand in your pantry and fridge and is forgiving substitutions.

Ingredients

  • 4 eggs

  • 1/3 cup half-and-half (or mix 50/50 heavy cream and milk or skim the top of local milk)

  • 1/2 tsp thyme (and/or other herbs of choice)

  • 1 tsp salt

  • Freshly ground black pepper

  • 1/2 tsp minced garlic

  • Sprinkle of onion powder 

  • 1/4 cup shredded cheese (cheddar, gouda, feta, etc)

  • Pinch of ground red pepper or diced jalapeños (optional if you like a bit of kick)

  • 2 tsp of mild oil

  • 2 cups thinly sliced mature greens (kale, collards, chard, spinach etc.)

  • Sour Cream (optional)

Instructions

  1. Move oven rack to top position and preheat oven broiler on high

  2. In medium bowl, whisk together eggs, half-and-half, herbs, salt, and pepper

  3. In a 10-in cast iron skillet, heat the oil over medium heat. Add greens and cook stirring until wilted (about 1-2 minutes)

  4. Pour in egg mixture into pan and gently stir into the greens. Then let cook undisturbed for 2-3 minutes until the edges look like they are beginning to set

  5. Transfer skillet to the hot oven and broil until the top is golden brown and the frittata set. It happens fast, so don't walk off! 3-6 minutes tops!

  6. Remove from oven to cool for 5 minutes before slicing. Garnish with sour cream if desired.

Yield: 2 servings (main dish) -or- 4 servings (side dish)

Farm-to-Table Valentine

Romance is in the air! Why not support local farms and restaurants when taking your special valentine out for dinner? Whether you want to dress up or down, there are plenty of locally-sourced, farm-to-table restaurants to make plans and reservations for a special night out.

Greenville

Travelers Rest

Anderson/Pendleton

Is cooking up a fancy meal up at home more your style? Order the specific veggies you want and pick them up at your convenience. No crowds or long waits. Don't forget edible flowers to dress up your plates!

Reserve your harvest meal here

P.S. If you’re reading this at the last minute, you can still grab our veggies around the upstate and still make Valentine’s Day special:

Roasted Roots

Winter farming means hardy greens and a lot of root crops growing snug beneath the soil. The last few weeks have found us trying to eat our way through the bountiful harvest of turnips and radishes coming out of our gardens. So we fell back on our favorite method to cook up an overabundance of veggies--roasting. Super simple, quick to prep, and roasting magically brings out the natural sweetness out of ordinarily spicy or earthy veggies to please even the pickiest of eaters.

We love the flexibility of using up whatever vegetables we have on hand for an easy side dish that can be cooking away while we prepare the main dish. So no worries if you don't have the exact root crops suggested in the ingredient list. It's a perfect way to clean out the crisper drawer at the end of the week. Bonus: The greens of most roots crops are edible too! Braise them on the stove top and have two sides for the price of one! 

Ingredients

  • Assorted root veggies (beets, carrots, turnips, radishes, onion, etc.)

  • Olive oil (or other oil of choice)

  • Sea or Himalayan salt

  • Thyme or Rosemary (or whatever herb compliments your main dish)

Instructions

  1. Preheat oven to 425 degrees

  2. Chop up a mix of root veggies to fill up your pan in a single layer

  3. Pop in the oven and roast for approximately 20-25 minutes

Happy feasting!

Summertime Dill Pickling

The dill is flowering and the cucumbers are stacking up--must mean it’s pickling season! Farmer Nathan and his wife found themselves with a few free hours and all the ingredients on hand to kick off this year’s canning marathon. Dill flowers add a touch of beauty to canned goods pantry. The following recipe is based off the Ball Book of Canning dill pickle recipe:

Yield: 6 - 1 pt canning jars

4-lbs pickling cucumbers (or larger sliced to 5-ish inches)

4 cups water

3 cups white vinegar

1/4 cup pickling salt

2 TBSP sugar

1 TBSP pickling spice

6-12 dill flowers (1-2 per jar)

  1. Wash cucumbers and slice into slivers or coins (personal preference).

  2. Combine water, vinegar, sugar, and pickling spice in non-reactive pot and bring to a boil. Meanwhile start getting the canner water warming up.

  3. Place 1-2 dill flowers into each canning jar and stuff as many cucumber slices as you can into the jar

  4. Ladle hot pickling liquid into the jars leaving ½ inch headspace. Remove air bubbles and wipe rims before topping with lids and bands (only finger-tight!)

  5. Process jars in boiling water for 10 minutes, turn off heat and let stand for 5 minutes, and then remove jars to cool. If any don’t seal, stick them in the fridge to enjoy fresh.